Create Your Own Gel Model
We’ve received numerous inquiries about how to construct an effective gel model for needle guidance practice. Commercially available models often feature opaque or colored gels, which can hinder visibility and limit their utility for beginners.
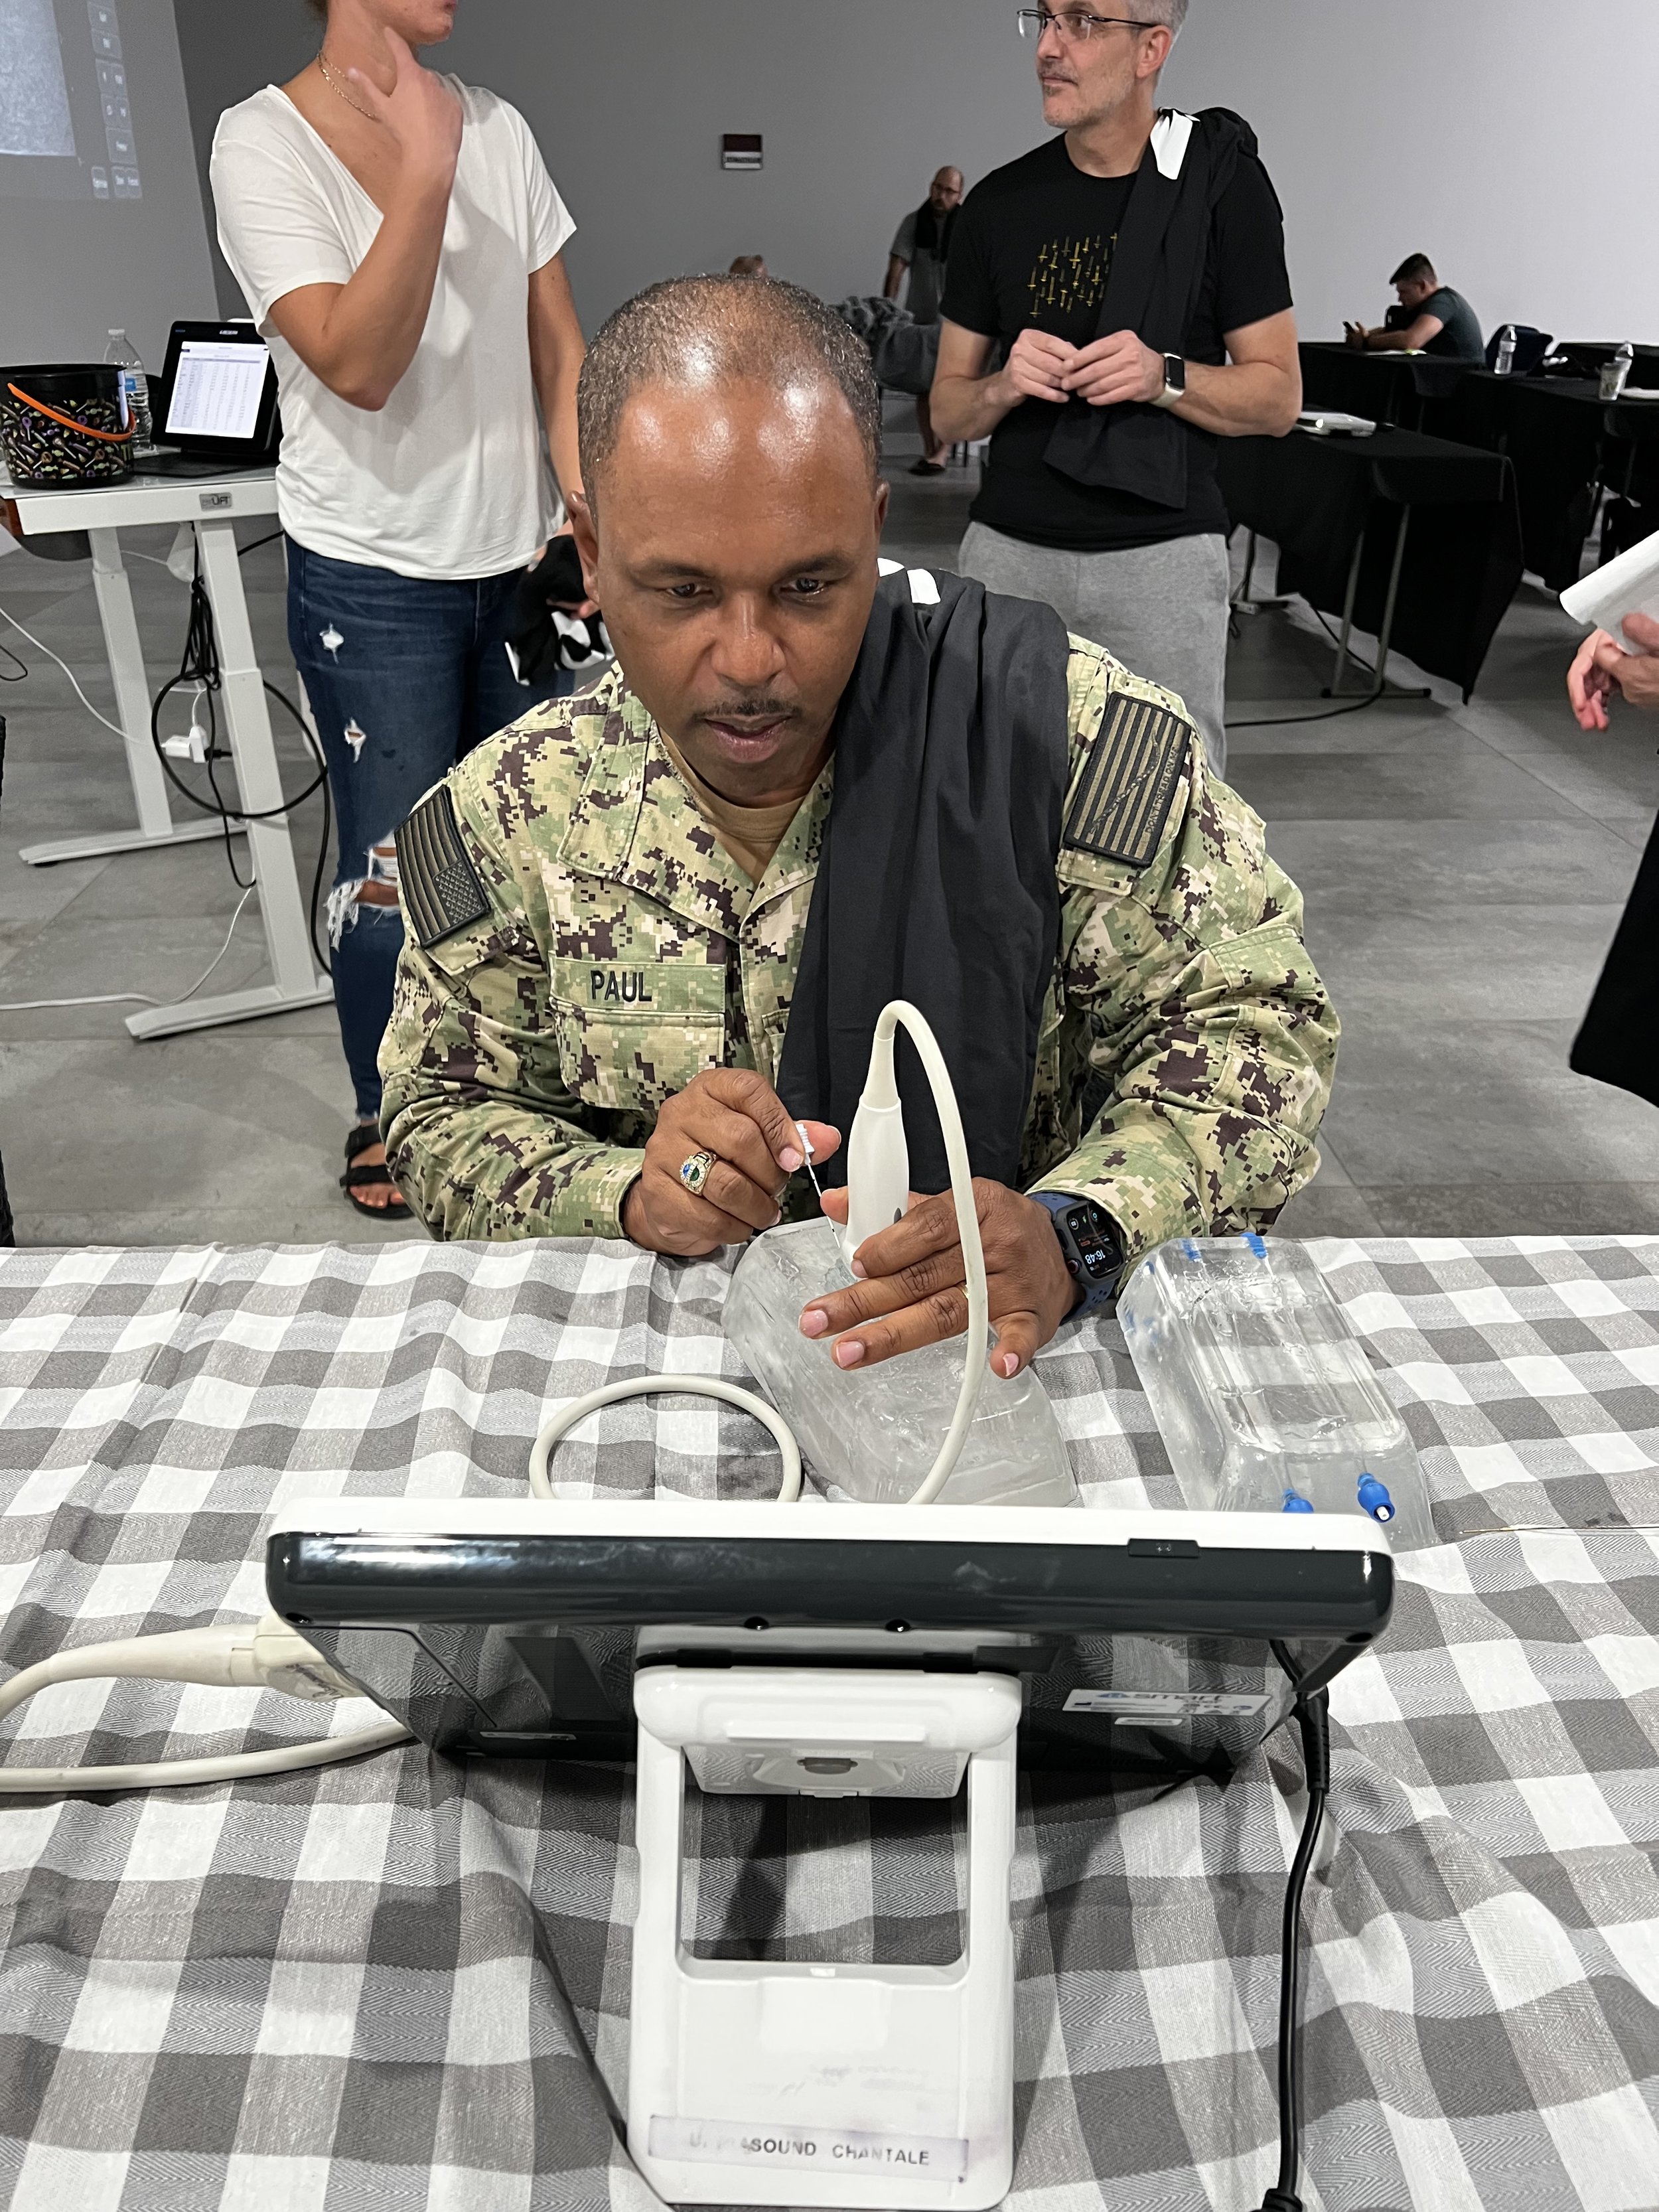
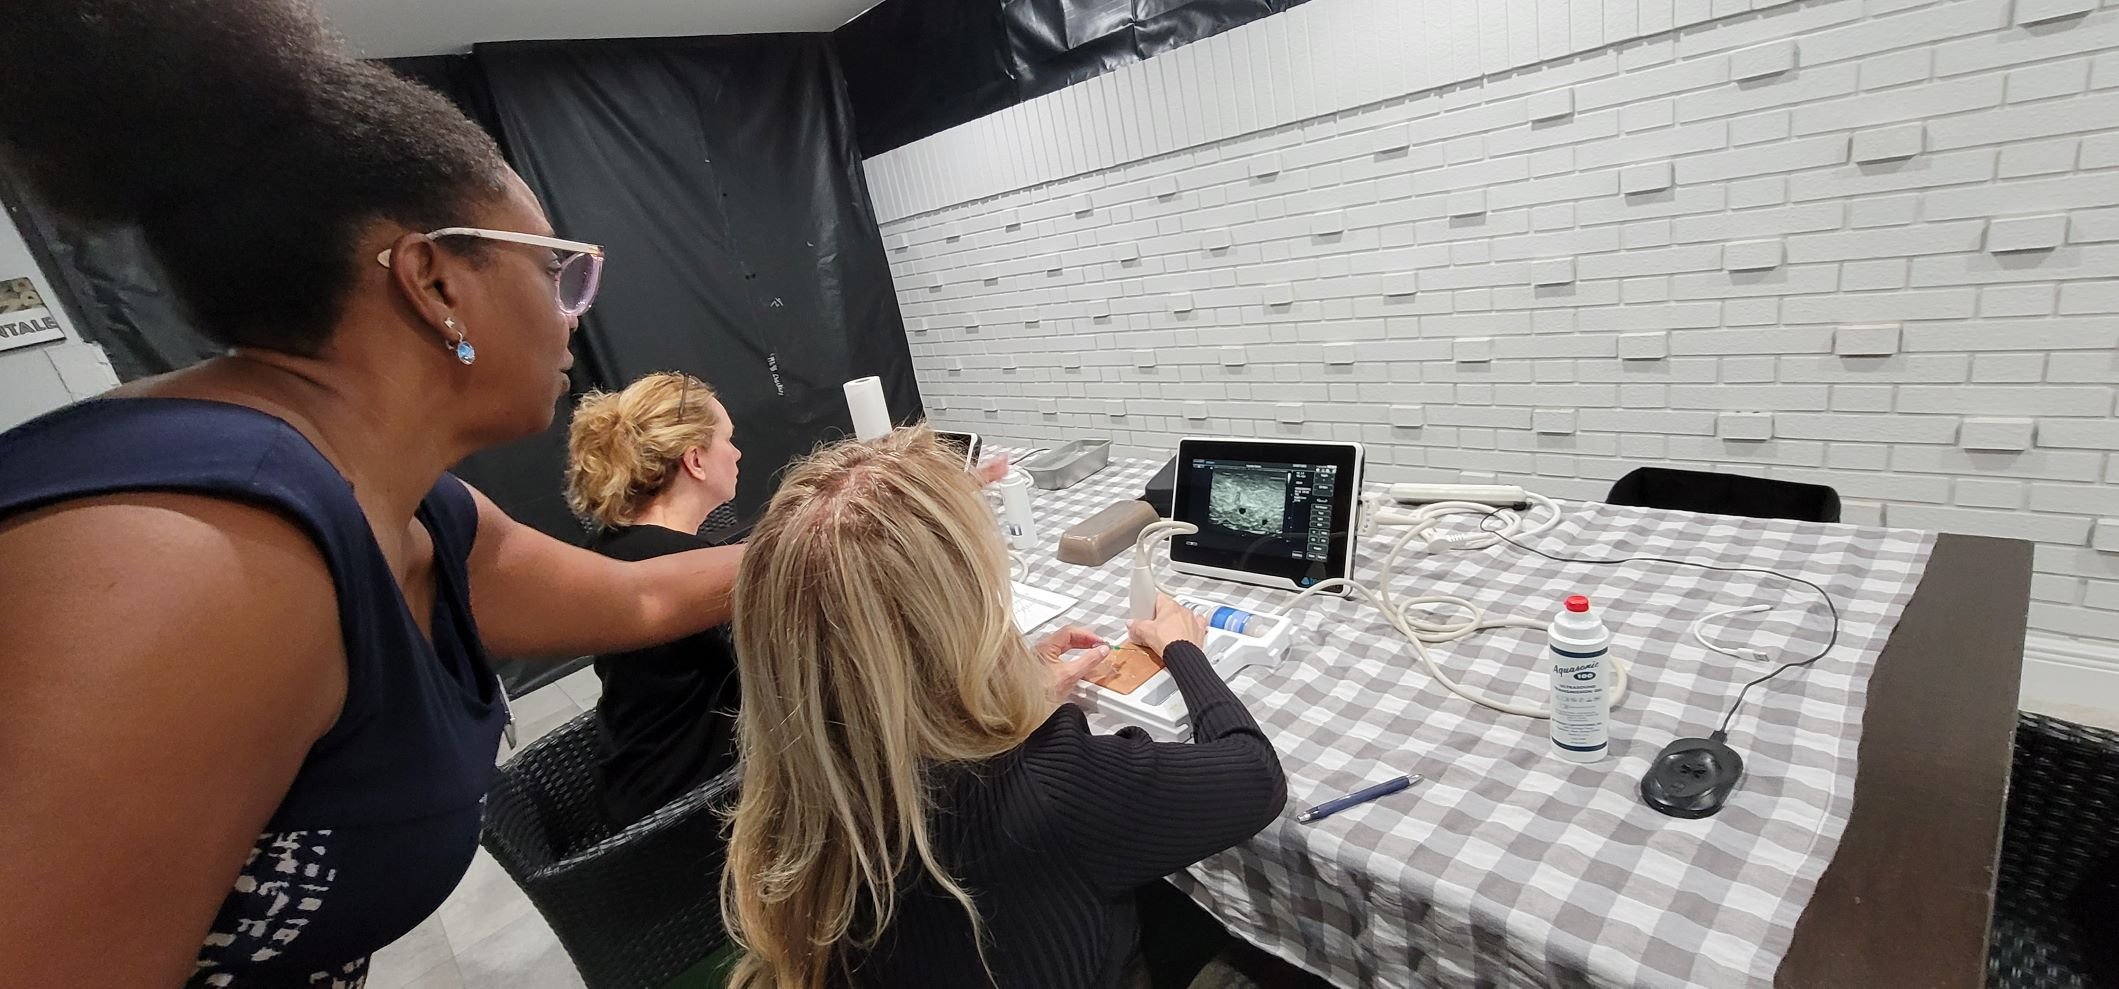
In contrast, a clear gel model offers significant advantages during the learning process. It enables users to visually track needle placement within the model while simultaneously interpreting ultrasound imaging—helping to “connect the dots” between tactile technique and real-time ultrasound visualization. This enhanced feedback is particularly valuable for those developing foundational skills in ultrasound-guided procedures.
Instructions for Creating a Clear Gel Ultrasound Model
Materials Needed:
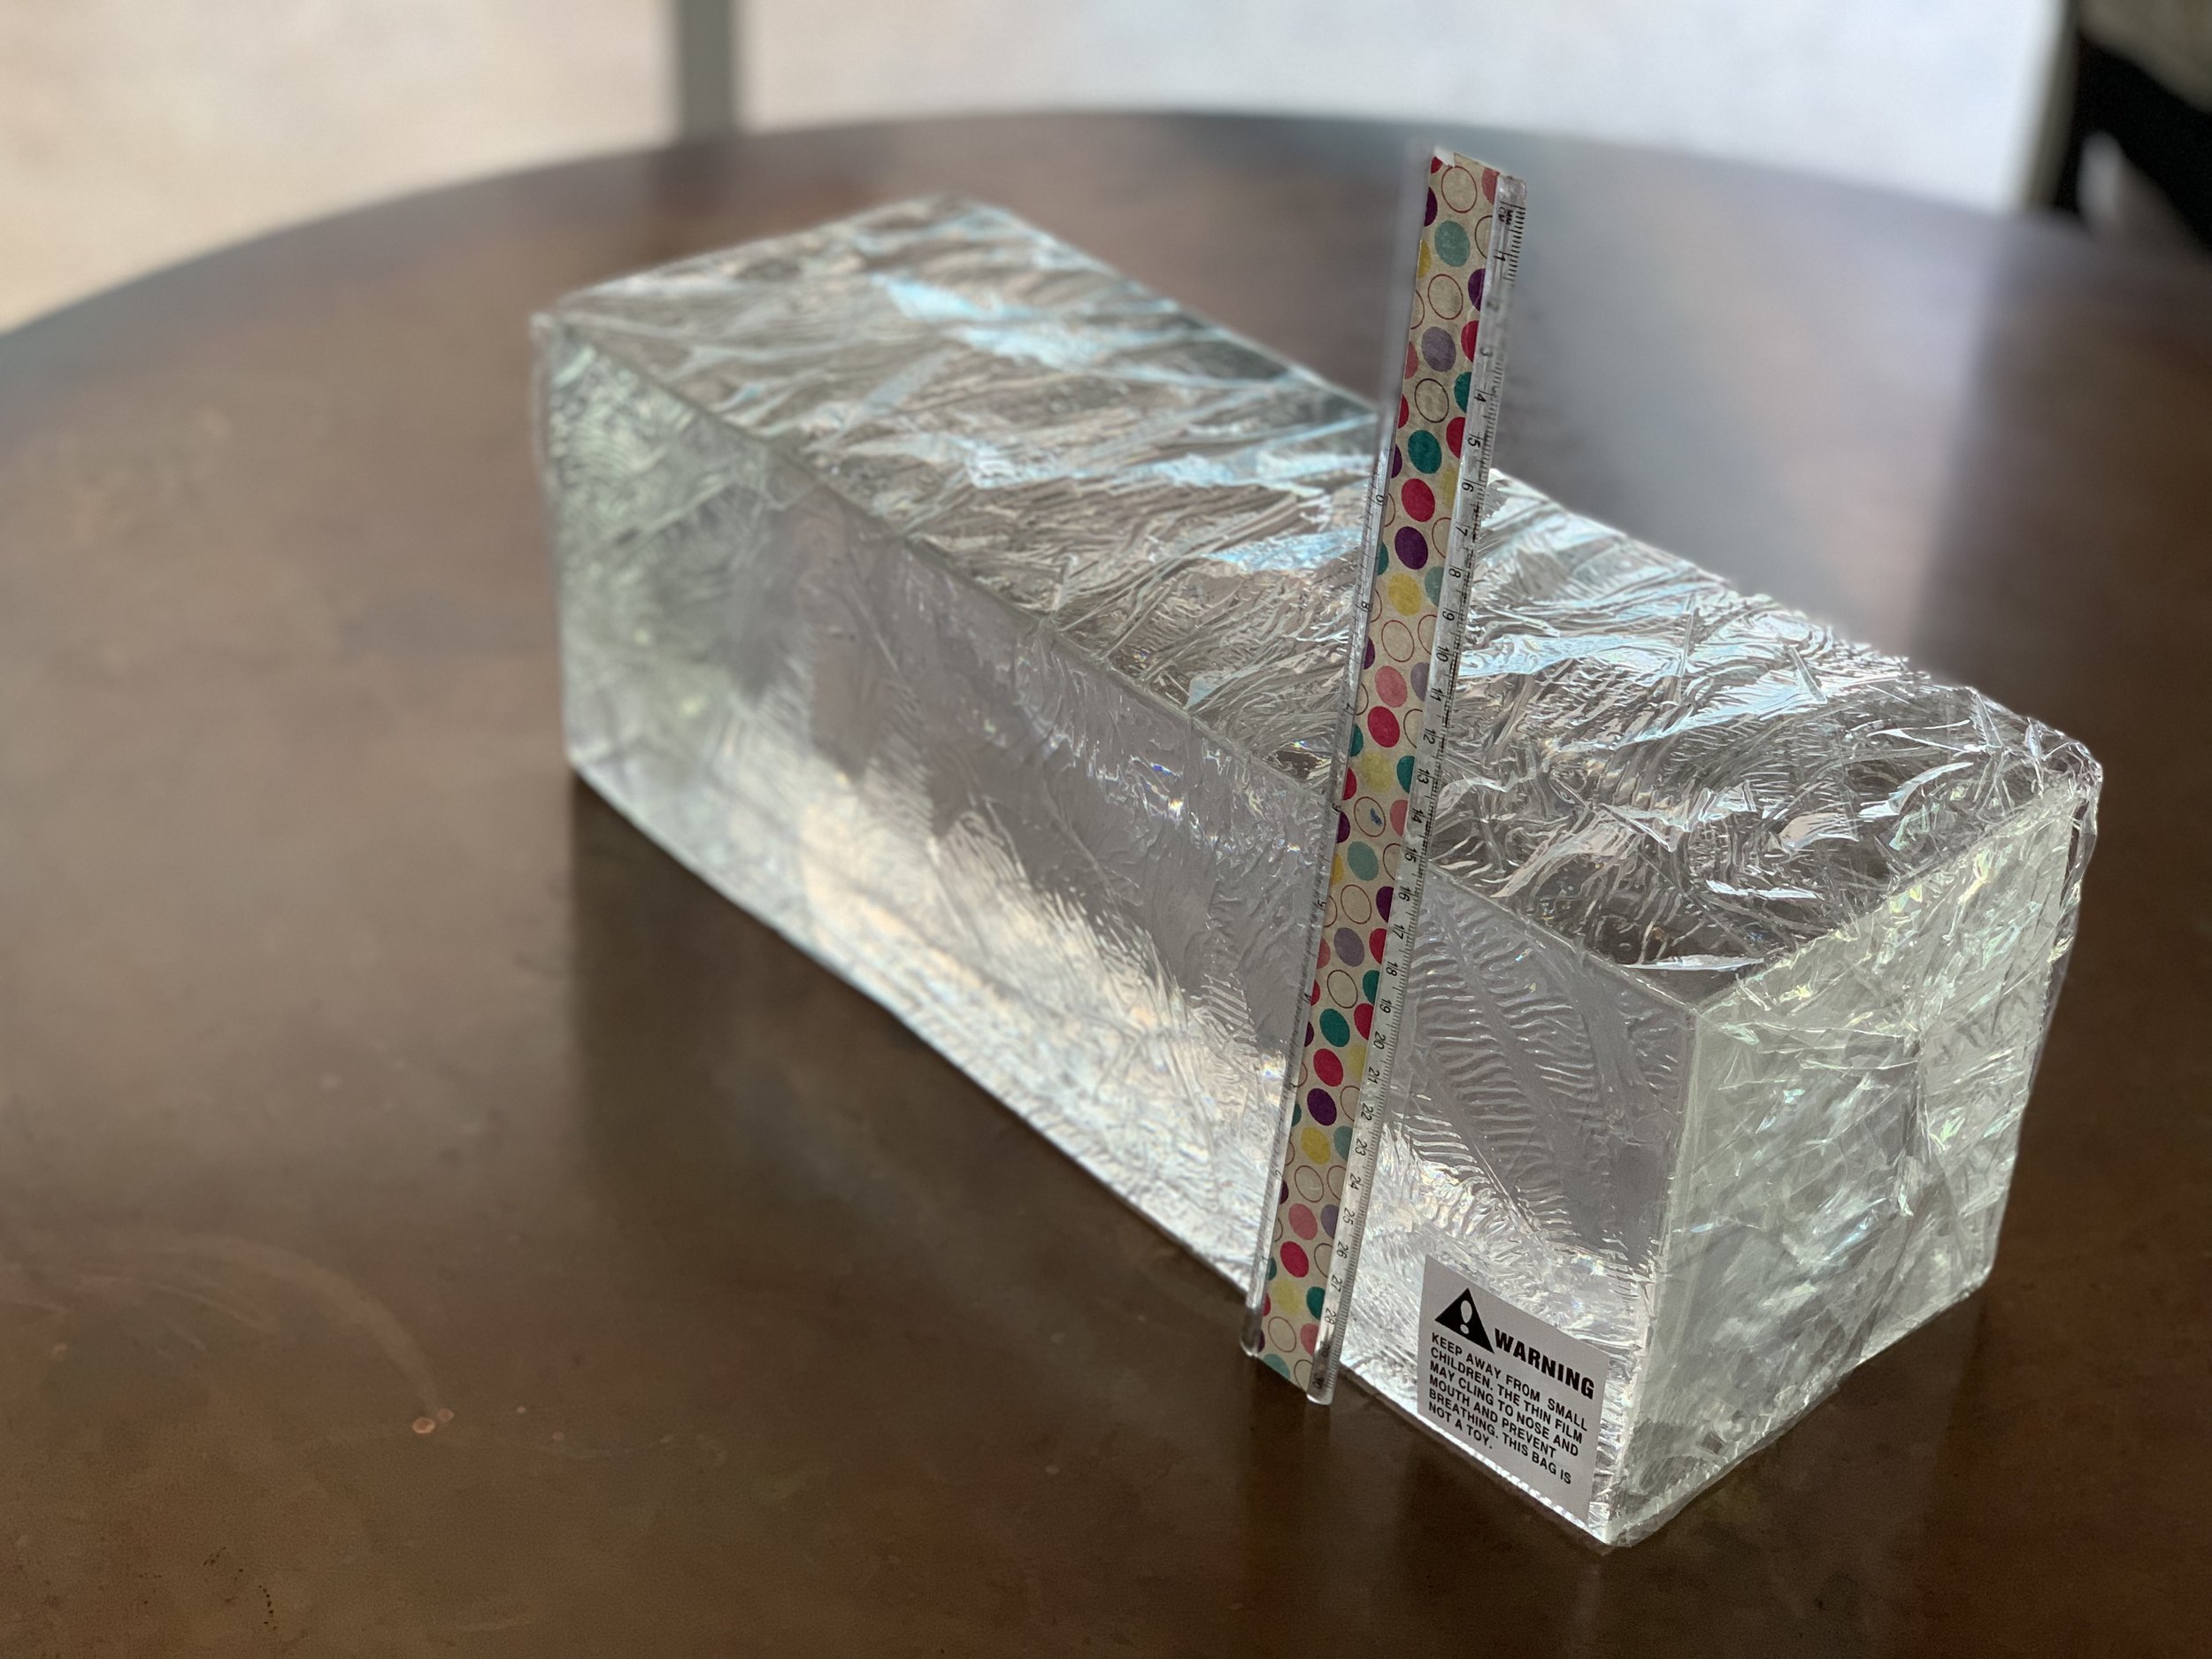
10% "less than perfect" clear gel (Order [here])
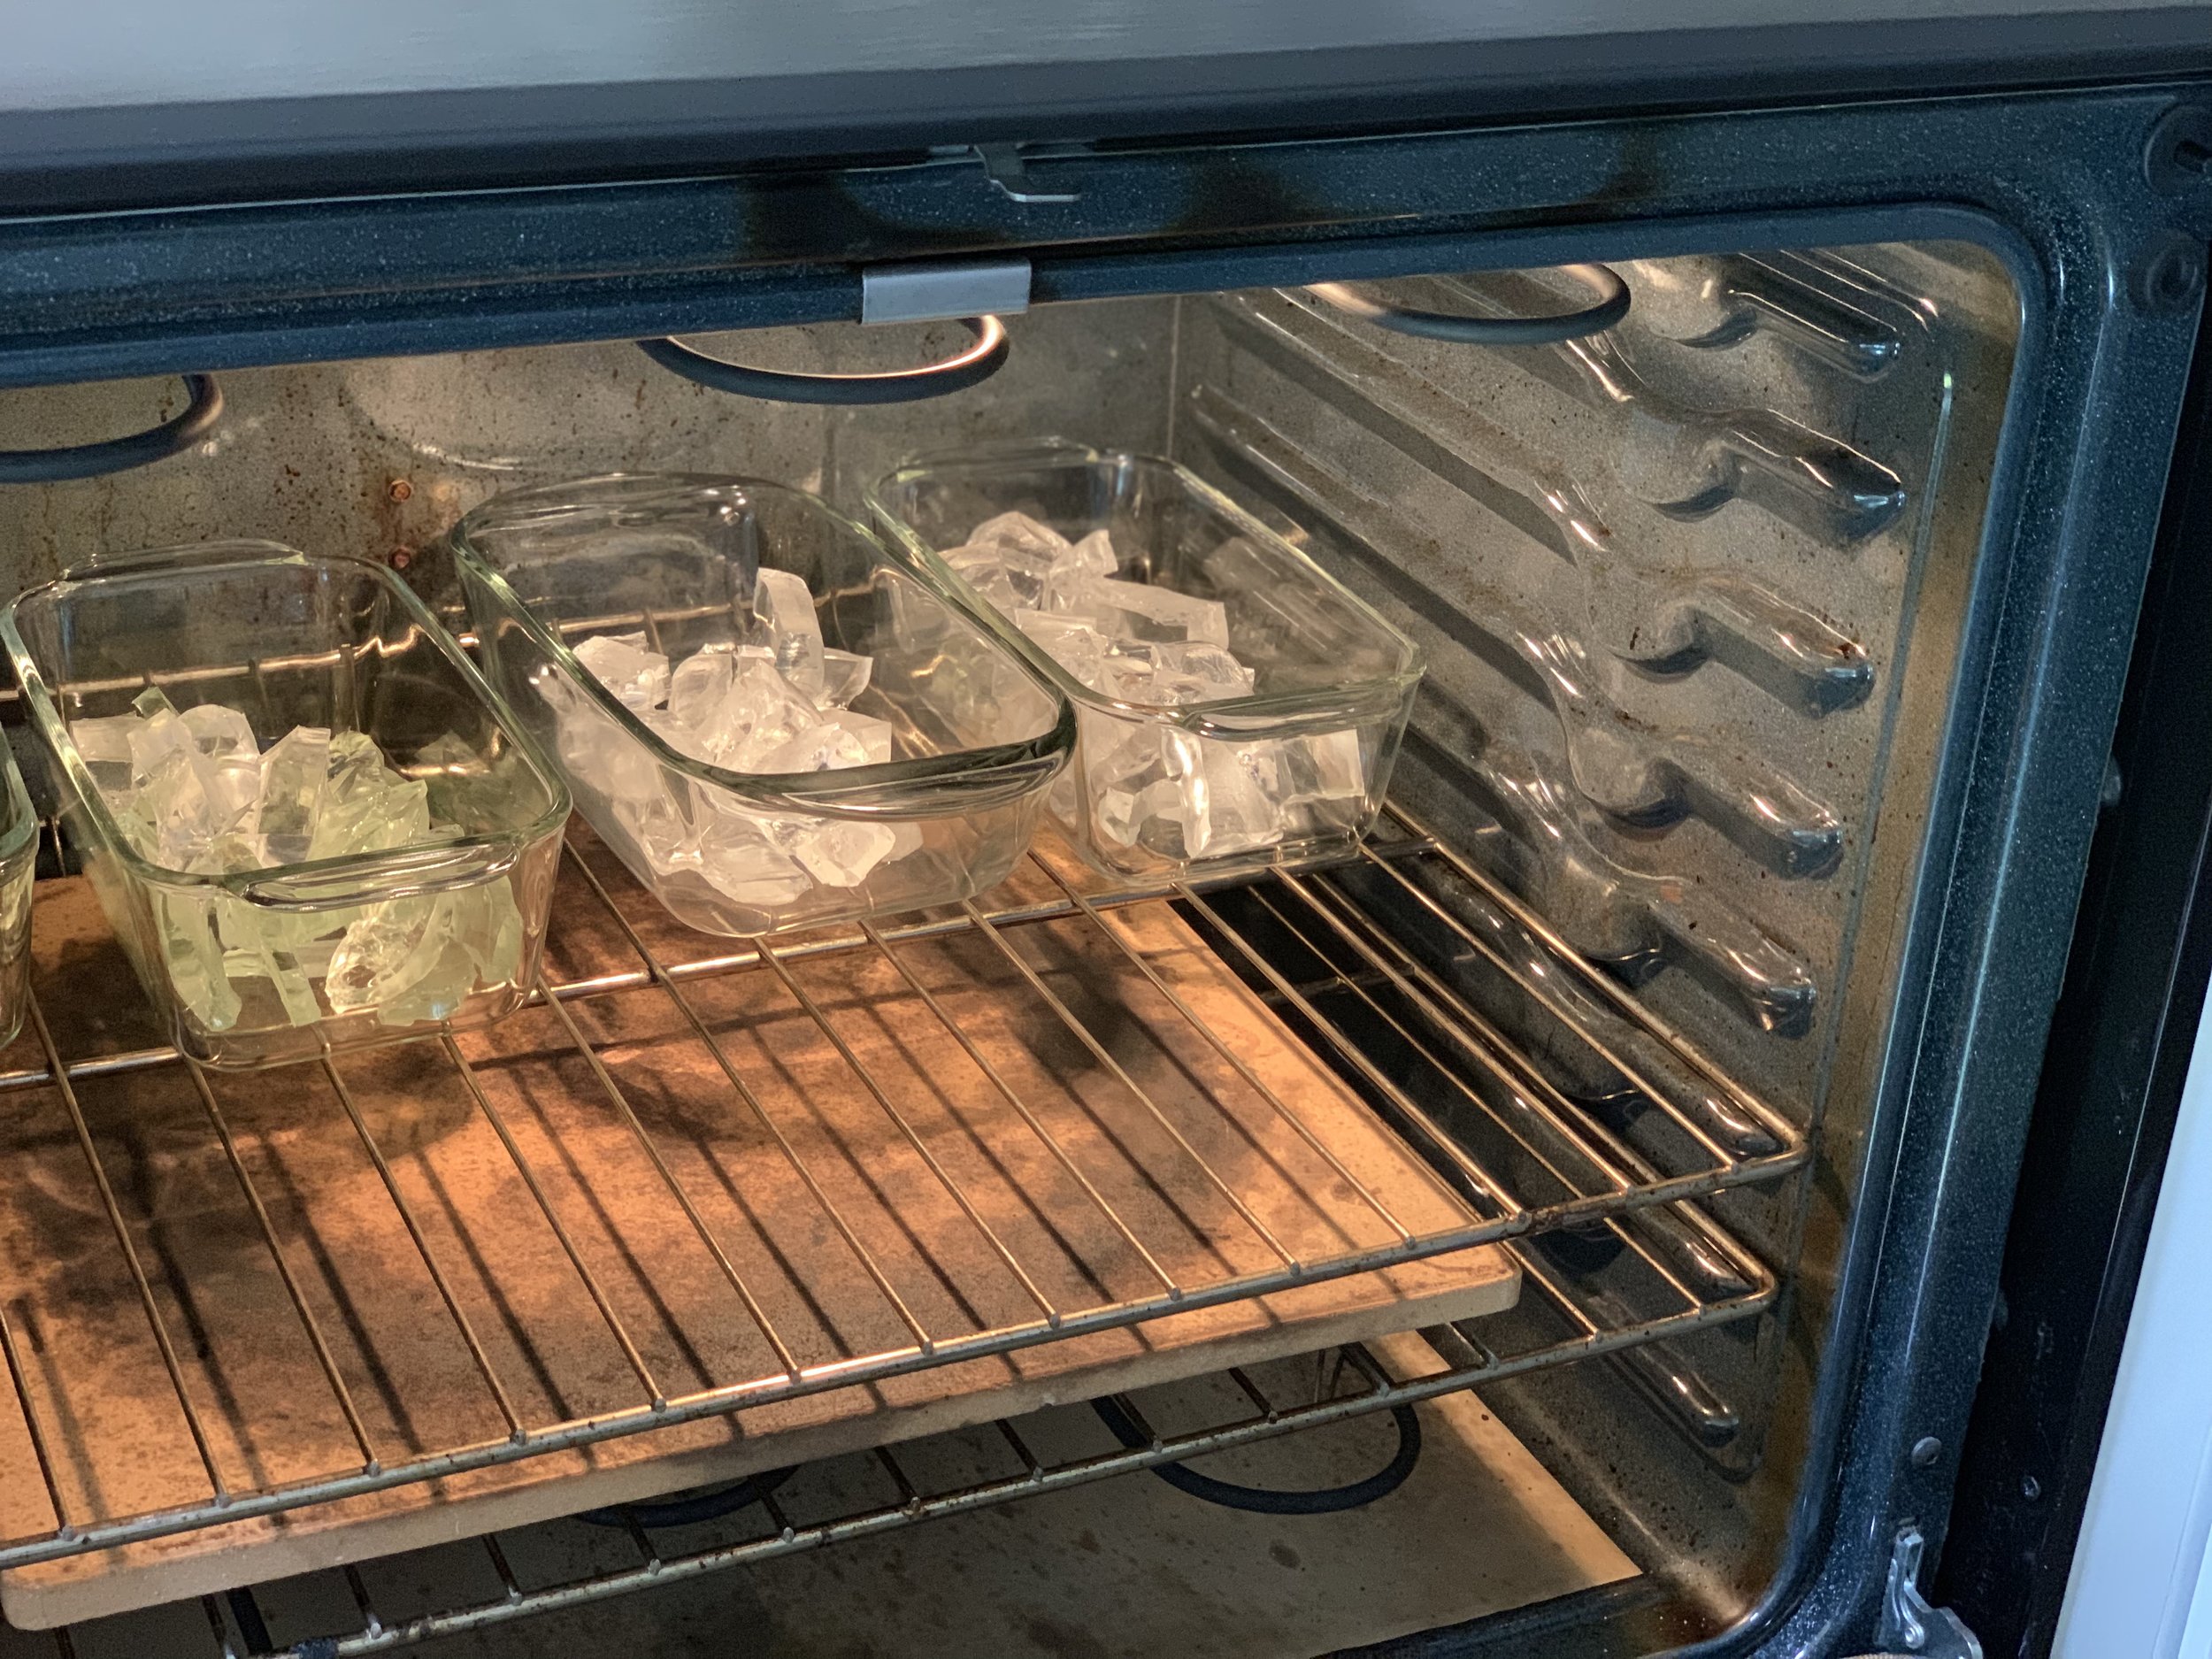
Two Pyrex bread pans
Oven preheated to 250°F
Parchment paper
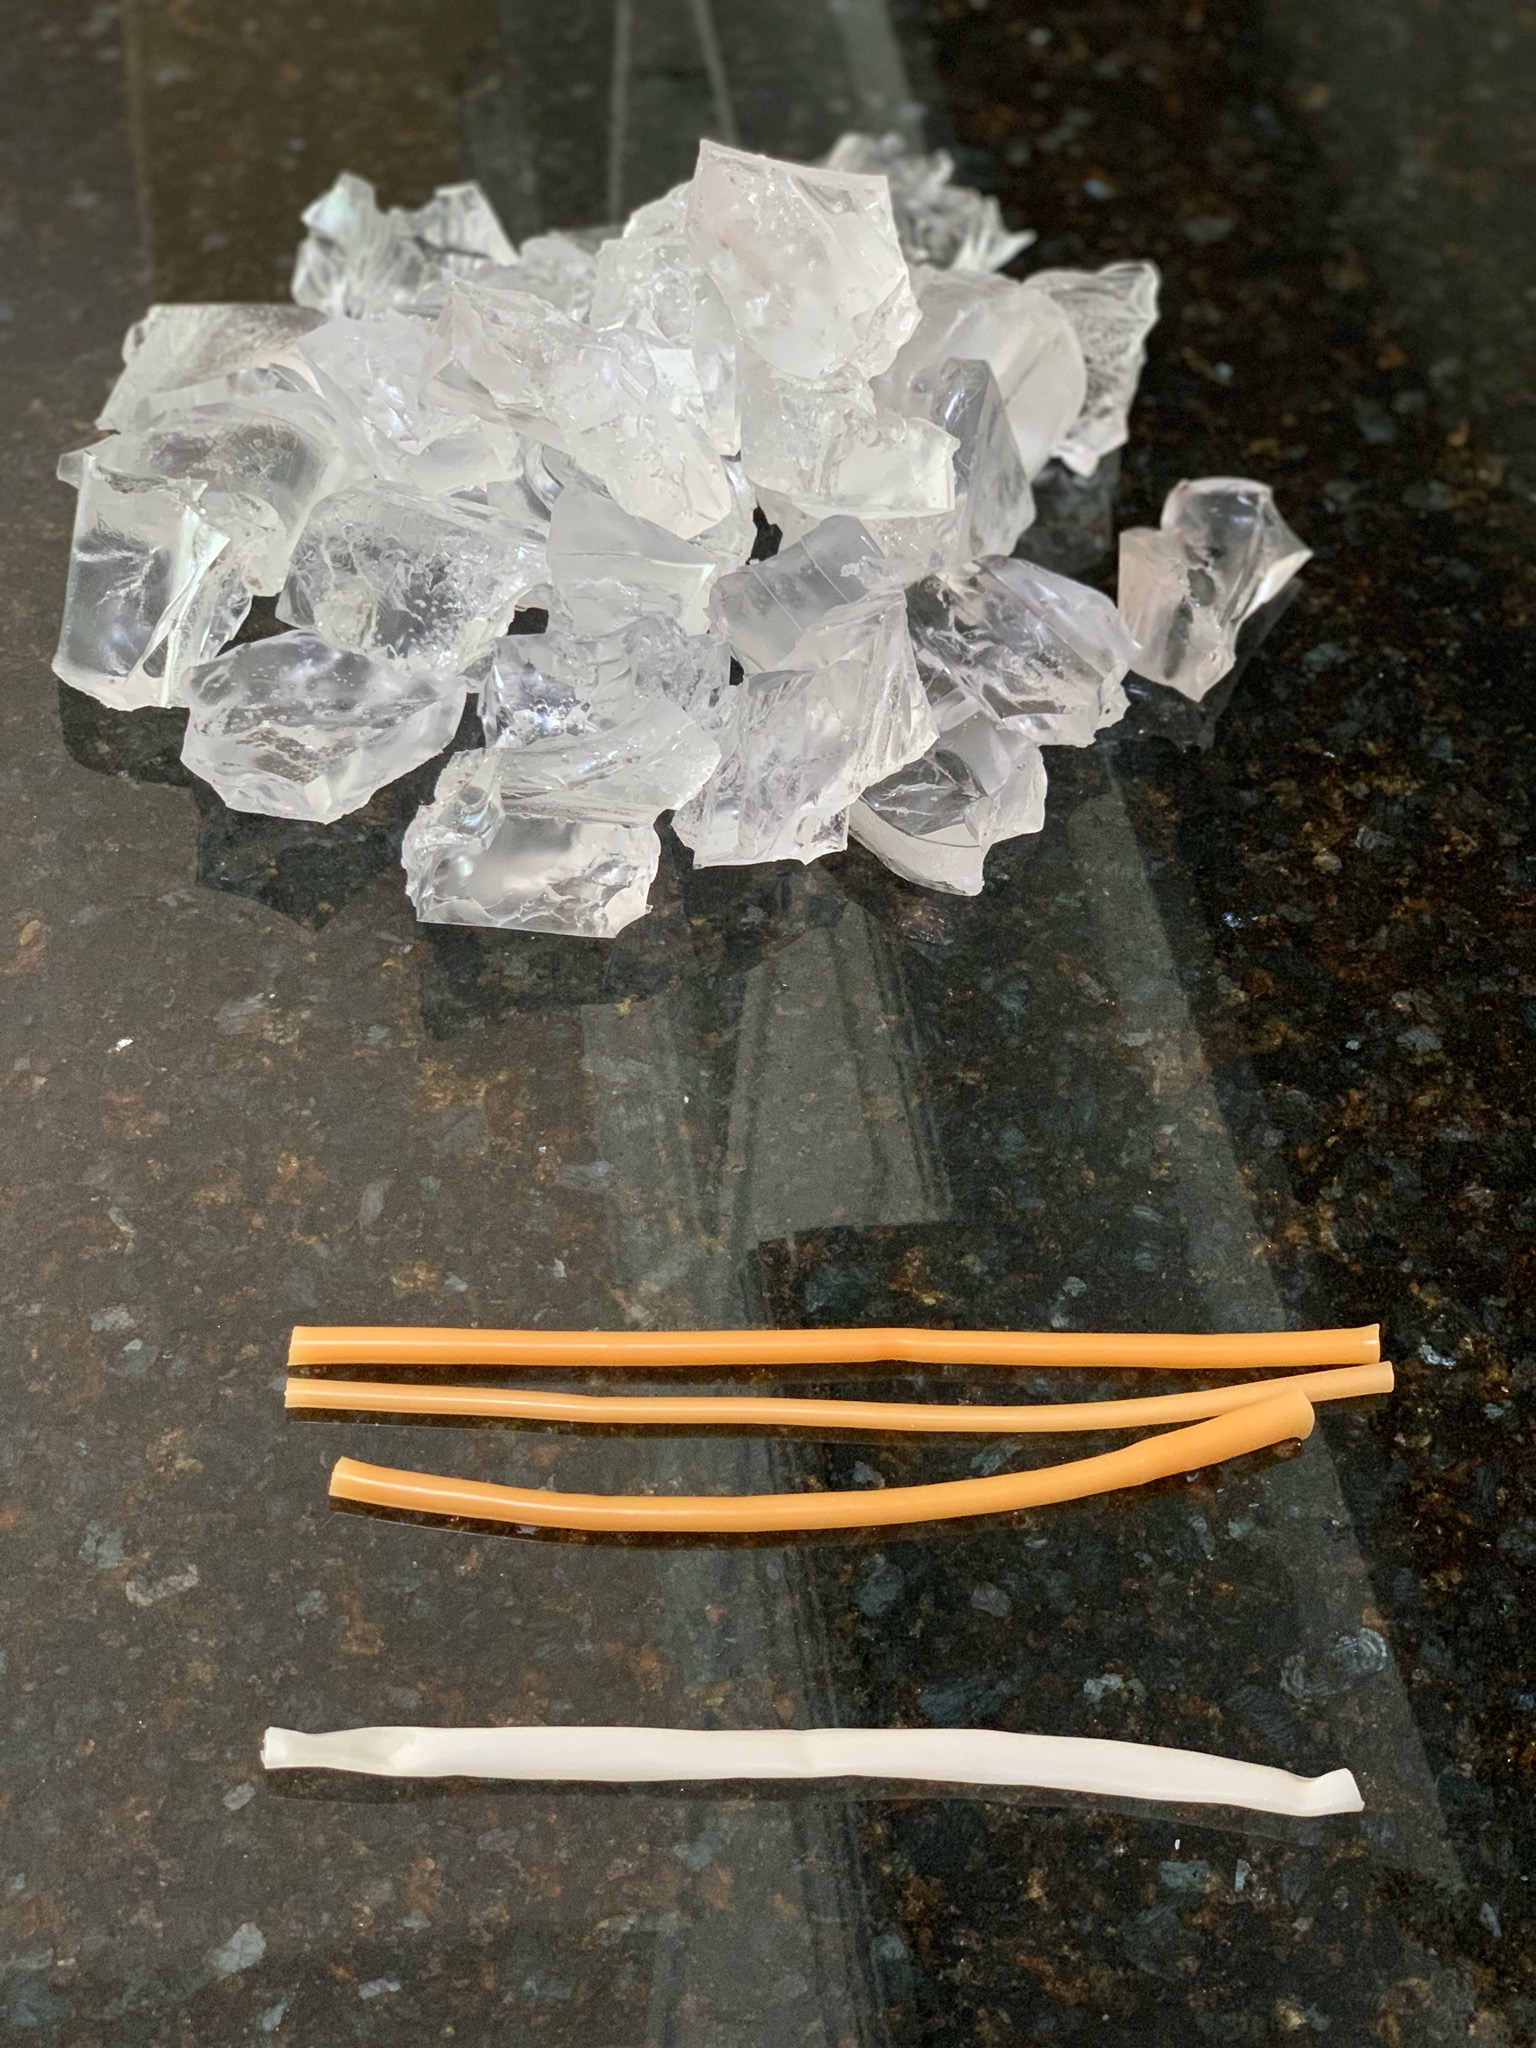
Foley catheters, JP drains, long balloons, or similar tubing
Optional: marbles or other small, removable items for variation
Optional third bread pan (available at most thrift stores)
Procedure:
Prepare the Gel
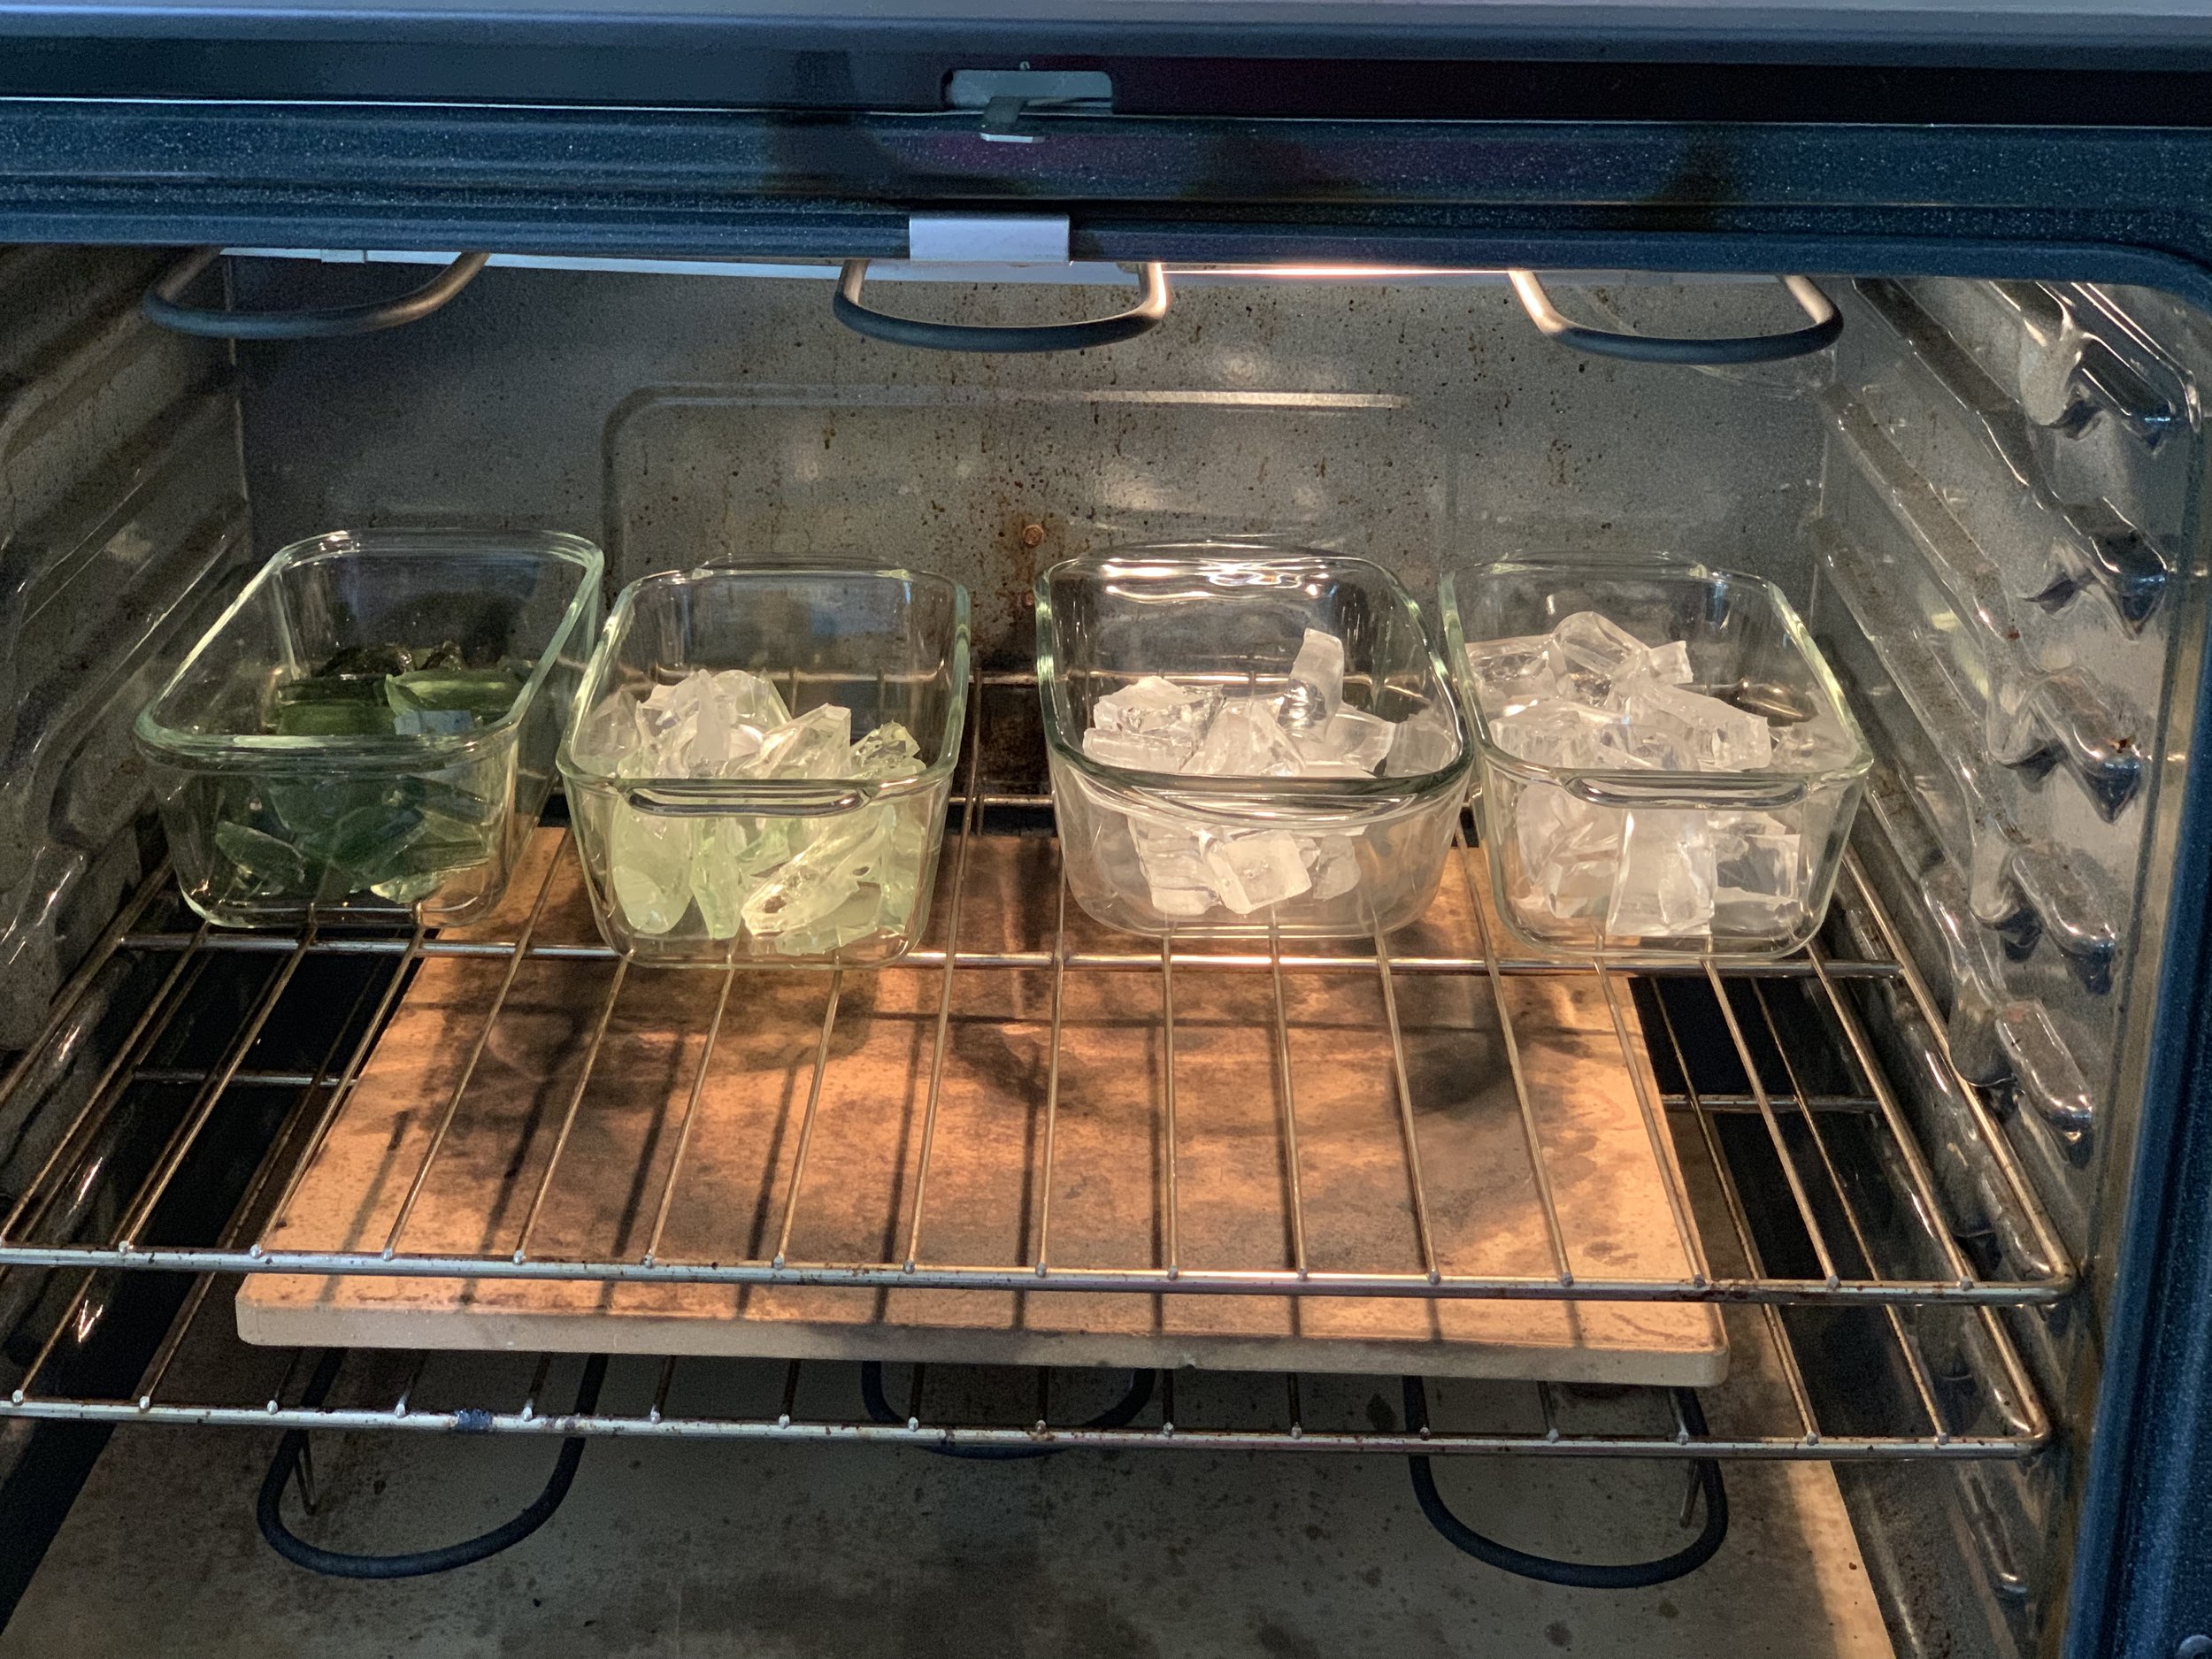
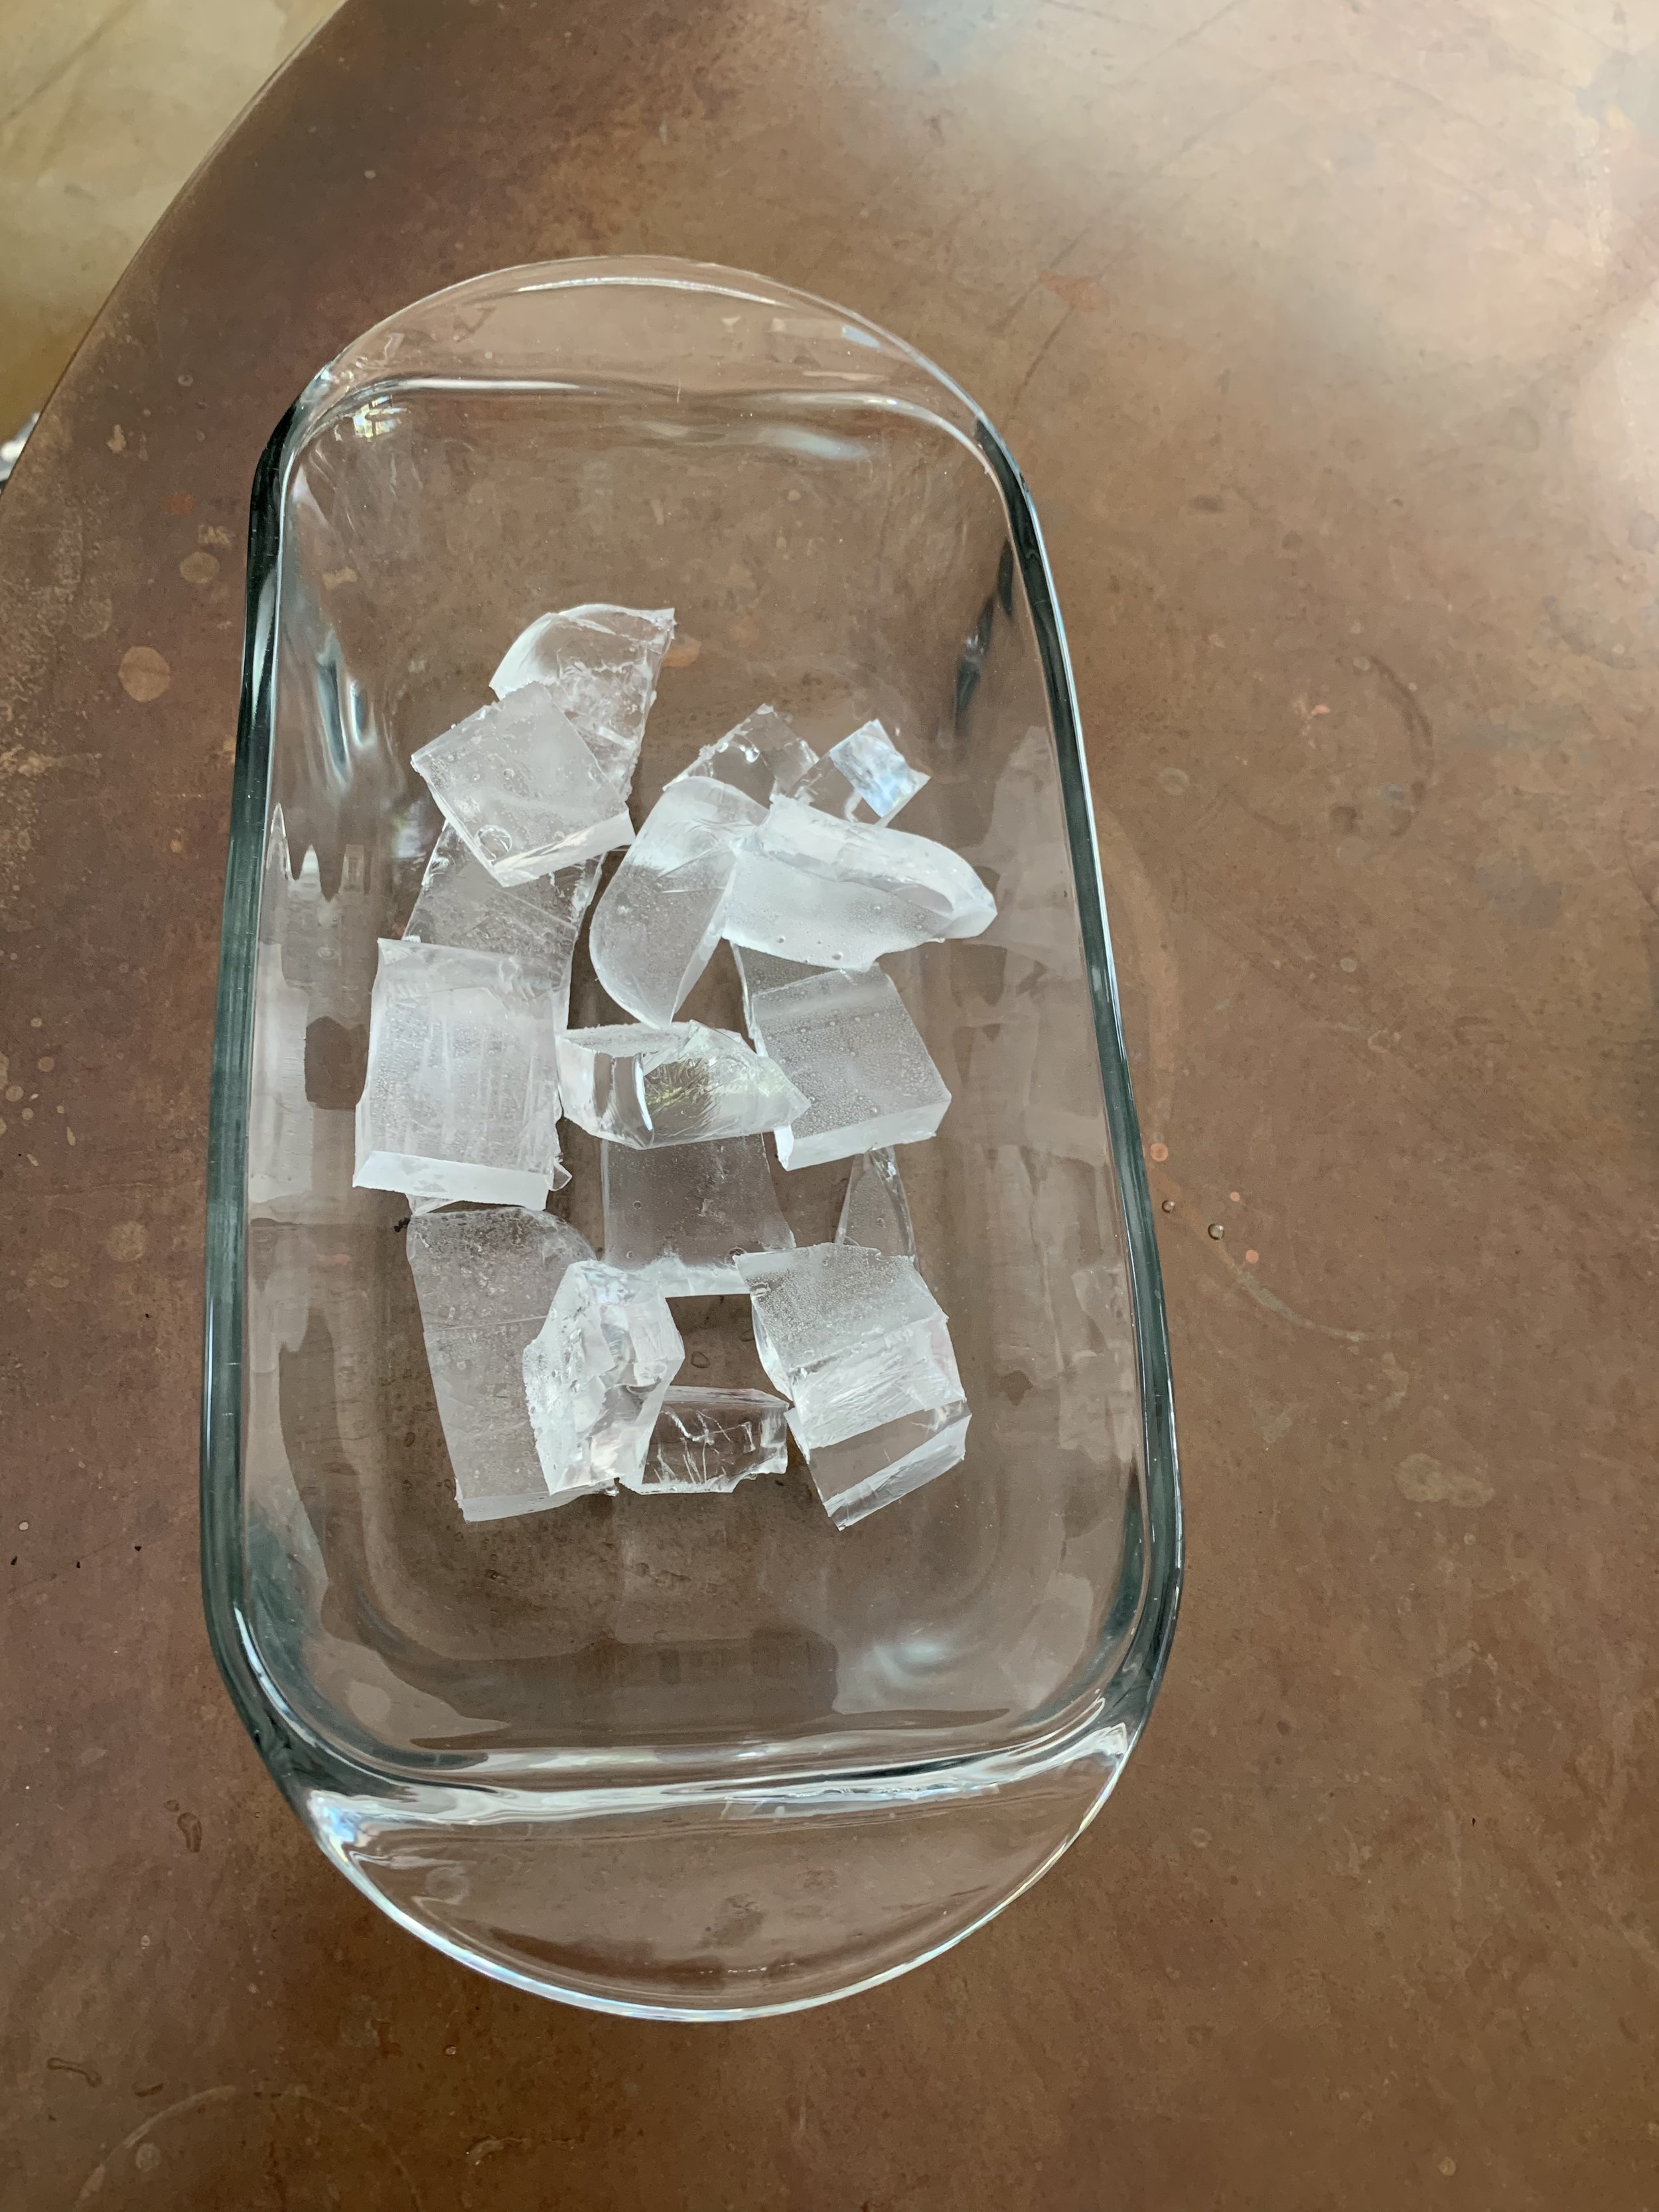
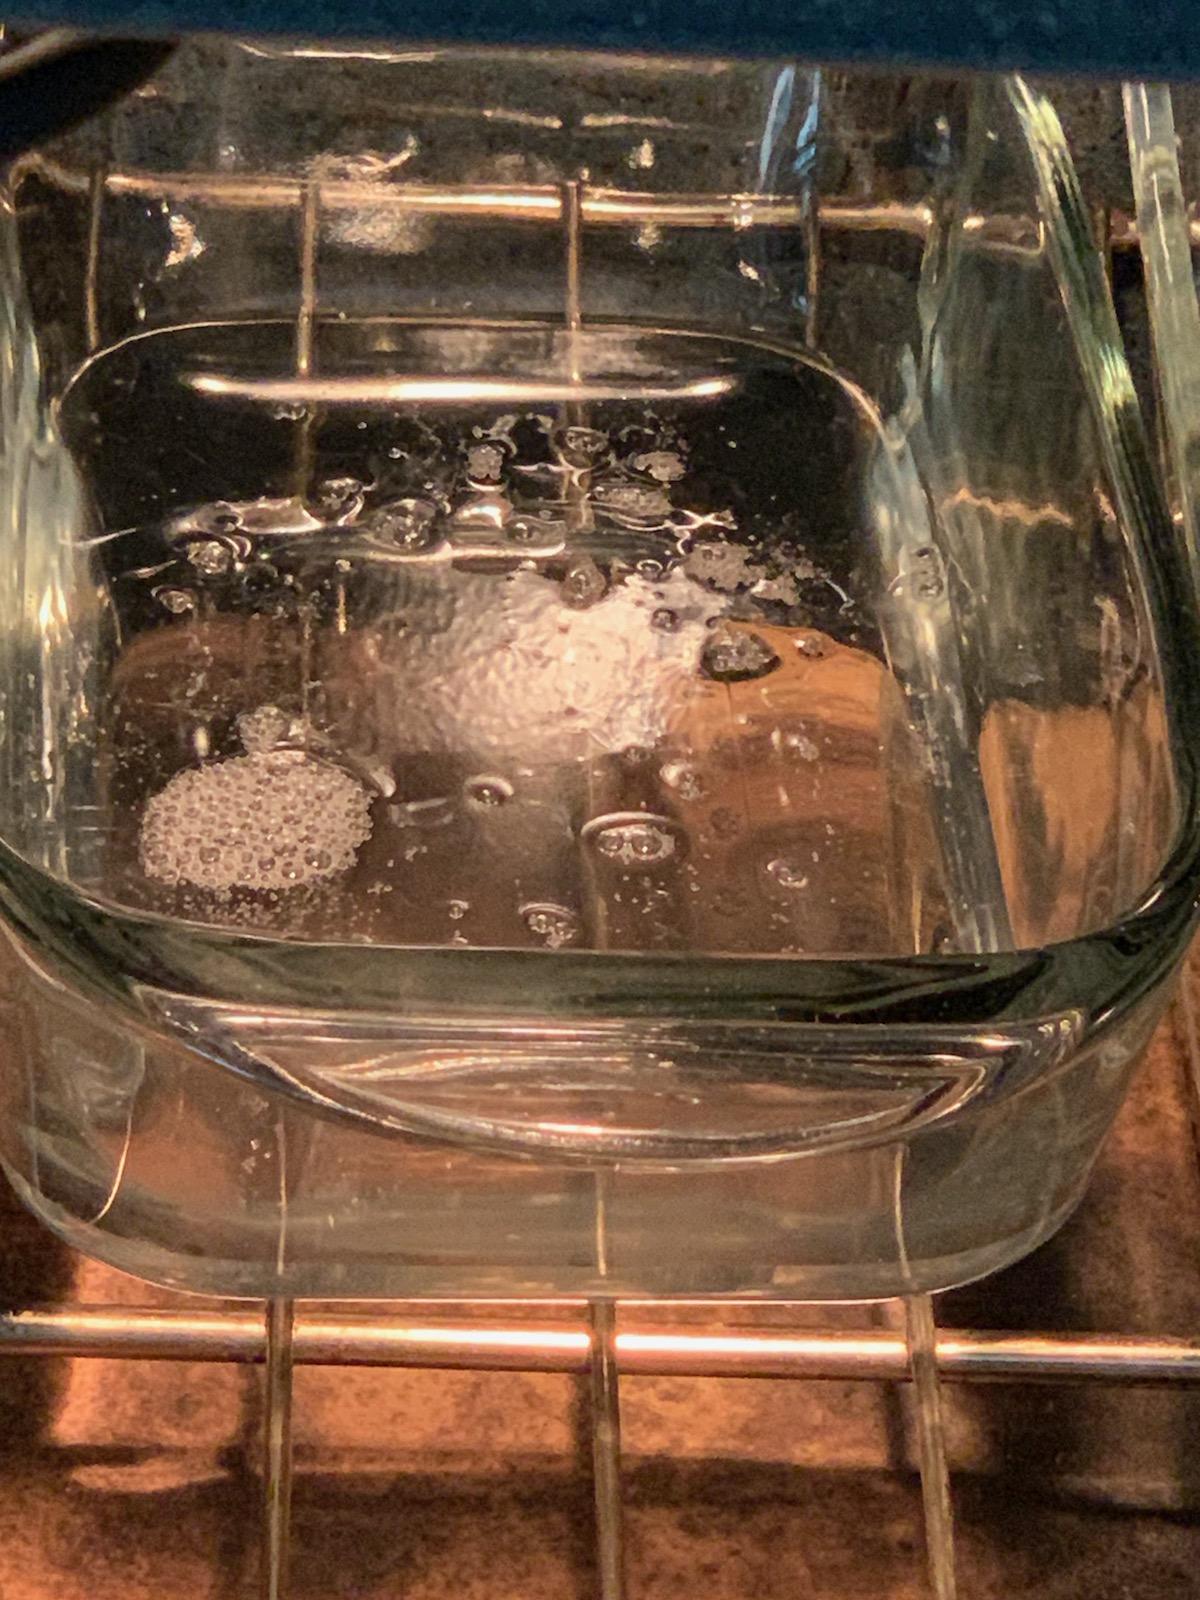
Divide approximately a 4"x4" block of clear gel into two roughly equal portions. Place each portion into a Pyrex bread pan. Exact measurements are not critical.Melt the Gel
Place both pans in a preheated 250°F oven. Heat for approximately one hour, monitoring closely. Once surface bubbles have dissipated and the gel appears clear, remove one pan and allow it to cool on a heat-safe surface for 10 minutes.Set the Gel Base
Cut a piece of parchment paper slightly smaller than the bread pan. Gently place it on the surface of the cooling gel. Let the gel continue cooling at room temperature for an additional 15–20 minutes.Insert Simulated Structures
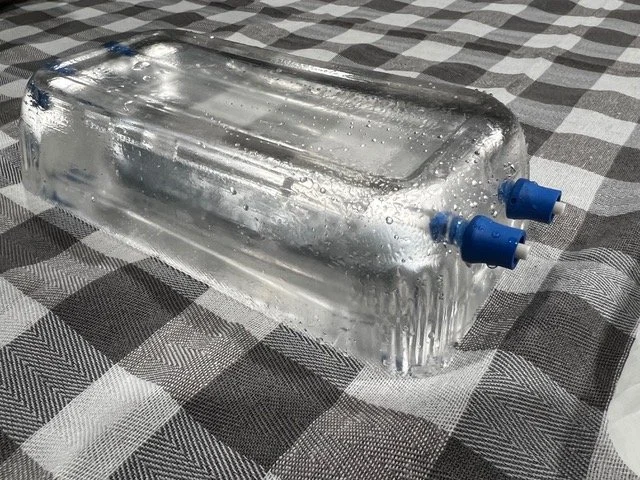
Once the gel is semi-firm (cool enough that items will not sink), carefully place Foley catheters, JP drains, balloons, or similar items on the gel’s surface.Note: If the gel is still too warm and your insertion causes a defect, simply return the pan to the oven to remelt the gel and repeat steps 2–4.
Add the Top Layer
Once the simulated structures are in place, remove the second bread pan (containing the remaining gel) from the oven. Confirm minimal surface bubbles, then carefully pour this second layer over the first to encapsulate the objects.Optional Third Layer
If using a third pan, additional elements (e.g., marbles, tubing) can be added for complexity. Ensure that items are removable for future gel reuse.Cool and Set
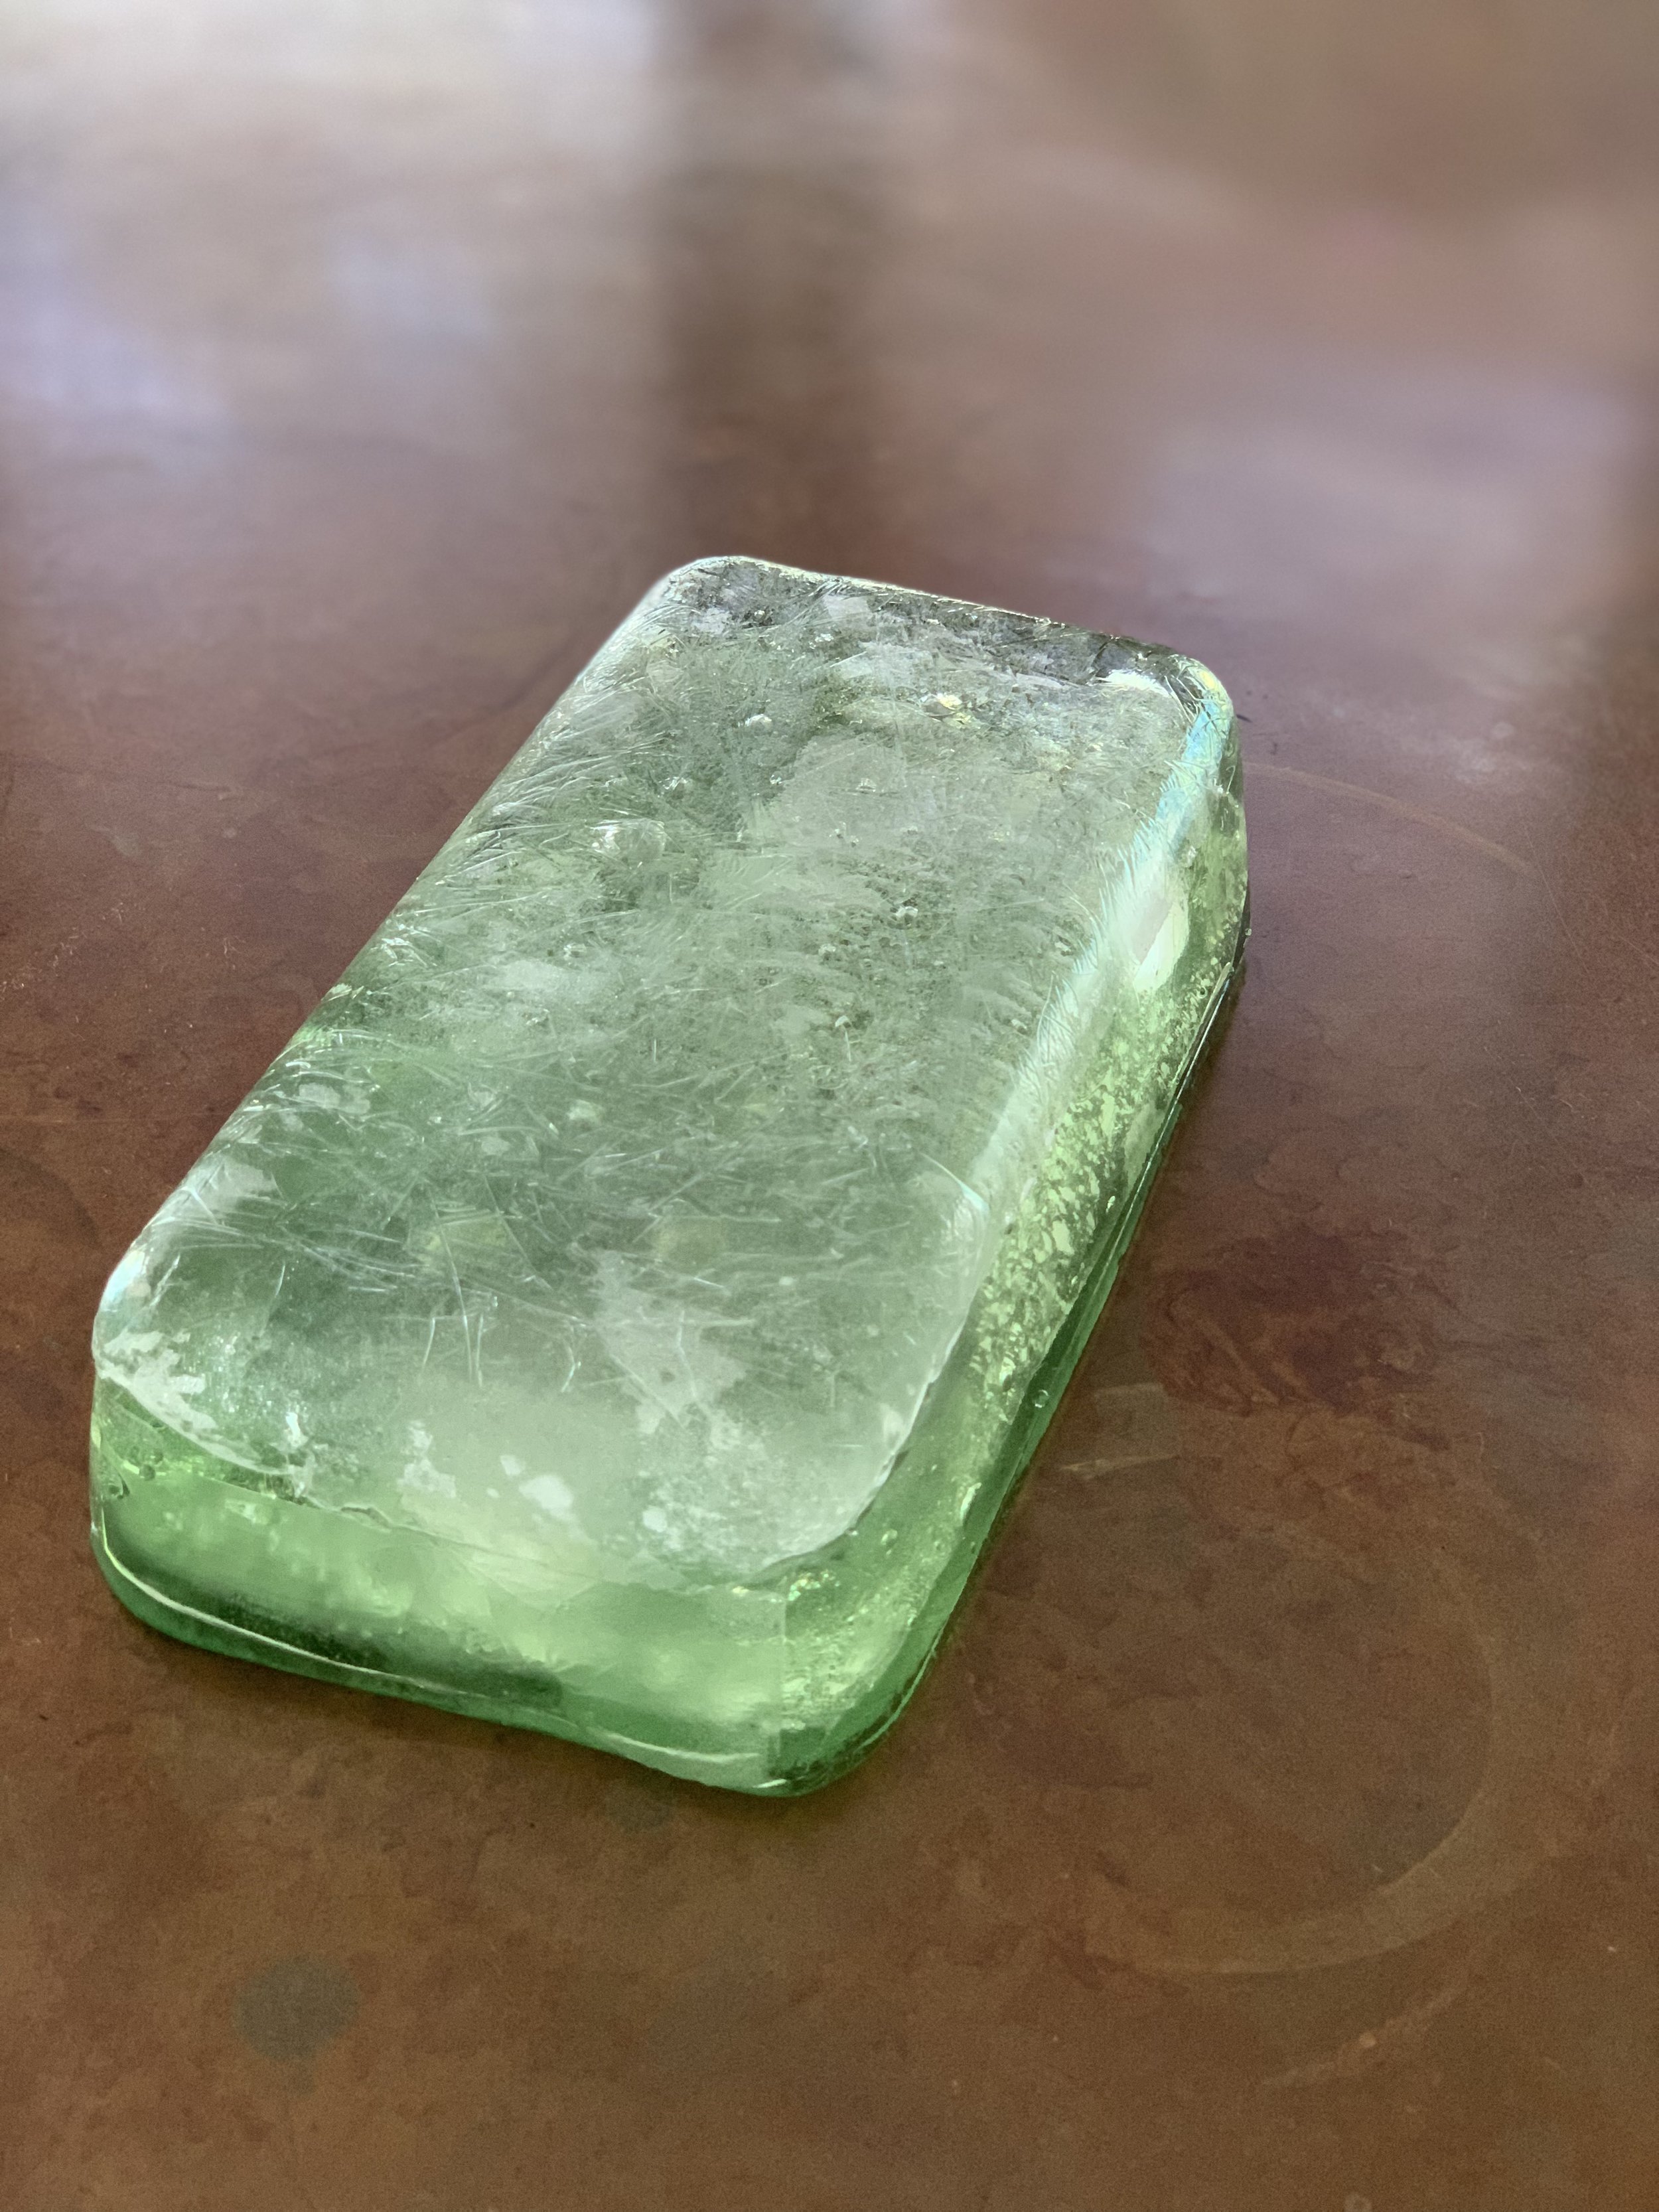
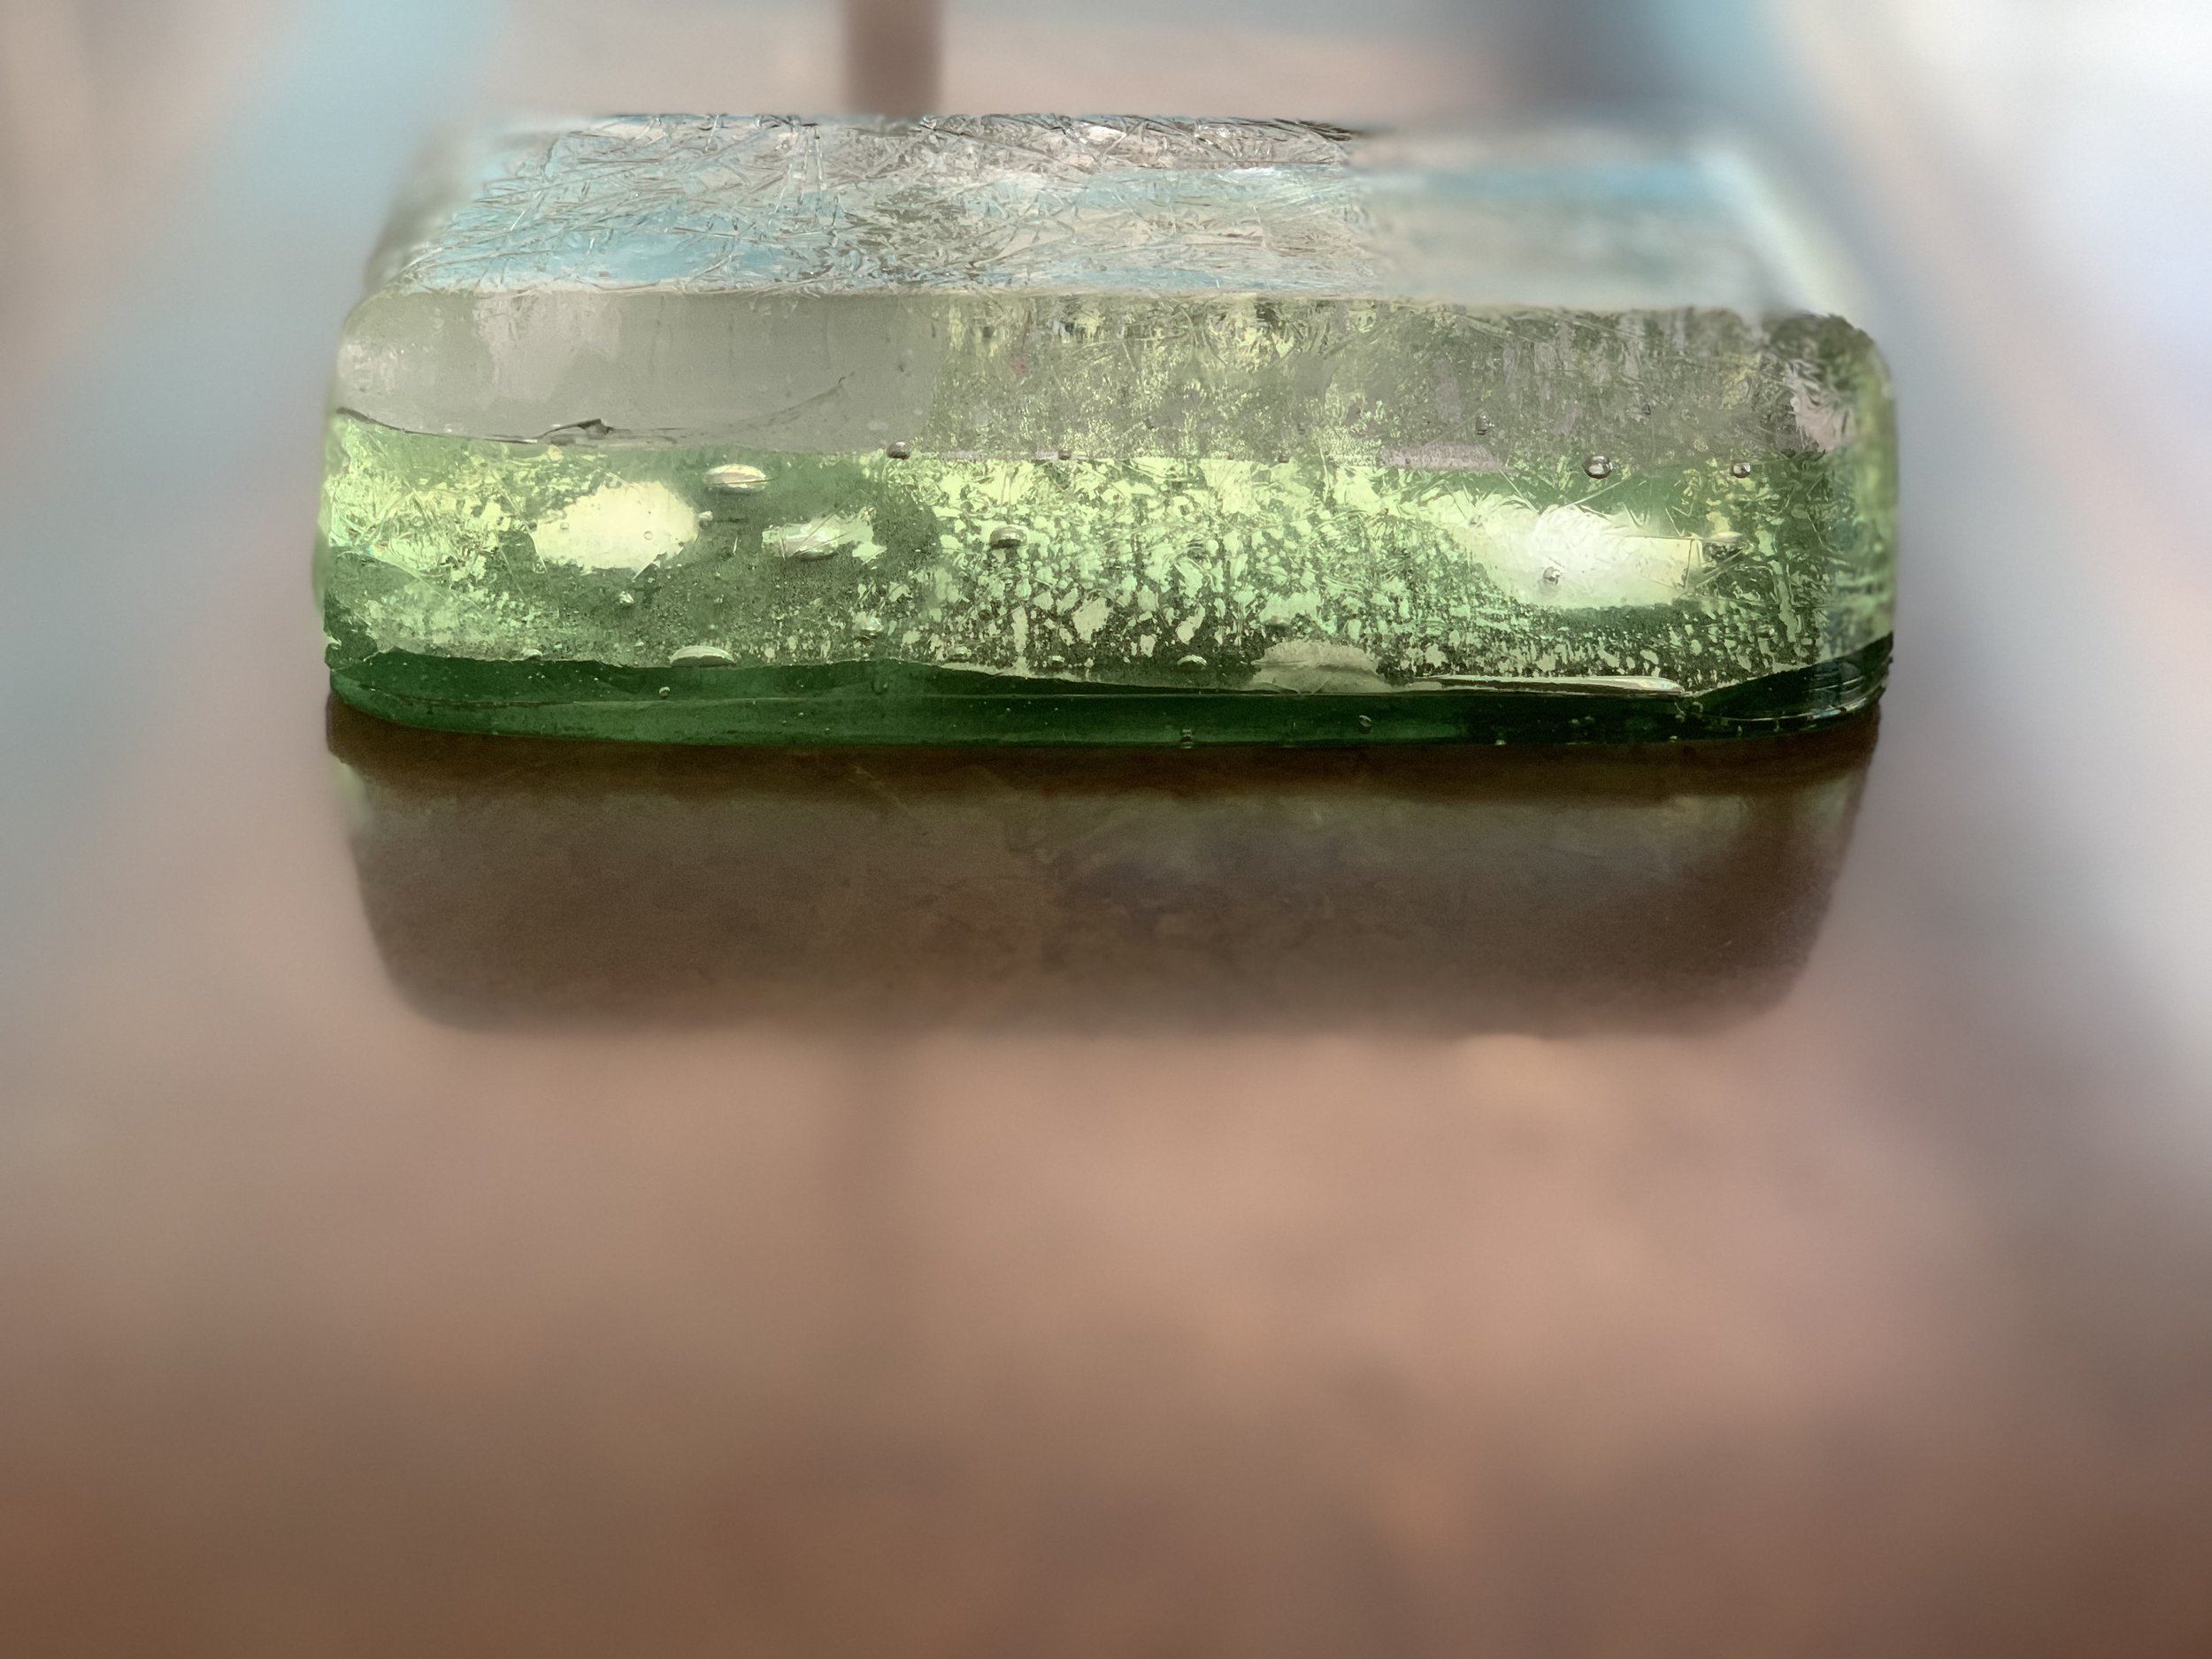
Allow the completed model to cool for a minimum of 2 hours. For optimal clarity and firmness, a 24-hour cooling period is recommended. Results may vary depending on ambient temperature and oven calibration, so minor adjustments may be necessary.